Vim Tutorial: Intermediate Vim
Table of Contents
What Next
We’ve made it pretty far and we’ve learned a lot about Vim. We still have a long time to get to mastery, and we’re no TPope here. Vim mastery requires a deep understanding of Vim and everything that is happening. If that’s the level you’re trying to get to, well I can’t help you. But if you want to be fast and effective in Vim, then continue reading. If you haven’t read the previous tutorials about The Basics or Vimrc it is highly suggested that you read the, even if you know Vim. You may learn something new.
But we need to learn how to get started on our path to mastering Vim. The first thing is that we need to read the help files. If you do not get used to this then you will never master vim. As they say RTFM. But don’t worry, Vim has some of the best documentation around. Whenever you press a key and something happens that you didn’t know (this happens!) RTFM. You’ll be surprised what you learn.
Vim Theory
We’ve hinted at some of this before, but there are patterns to vim commands. Learning how this works will make it so you have to remember far less and can do complex movements.
Everything Is A Command
In vim, everything is a command. This should be apparent because “normal mode” is frequently referred to as “command mode”. So knowing this, what can we do? Remember how I told you to put numbers in front of things? Well we’re just telling vim to run that command that many times. When we enter insert mode we have to think of this as a single command. Look at this.
How did I do this? I just typed 10i and then the sentence. Okay, that is a silly example, but we learned something. Thinking about this we should realize that our movement keys are also commands. Want to go 10 likes up? 10k. Want to move 10 words? 10w.
Okay, I hear you saying “that’s cool…” but we can go further. Remember how we deleted a line? dd (or D). We can also combine this with movements. Want to delete everything from where you are to the beginning of the next line? dk. Delete a word? dw. We can do the same thing with yank (y).

We can combine numbers and these patterns! So want to delete two words at a time? 2dw.
Registers
You can skip this section, but it is good to know that this exists.
You may have noticed already that delete isn’t actually delete, but cut. If now, well SURPIRSE! It is. But if there’s a cut and paste, that means there’s a clipboard. So where is that? It is the register (now is a great time to type :help reg. I’ll wait). We know vim is powerful and that we can rewrite things, so the next question is “How do we use the clipboard?” Well, we can actually cut different registers and use them. If you glanced at the register help file you’ll notice a line like ["x]y{motion}. Let’s look at that. Looking further down the help page for registers we see
There are ten types of registers:			*registers* *E354*
1. The unnamed register ""
2. 10 numbered registers "0 to "9
3. The small delete register "-
4. 26 named registers "a to "z or "A to "Z
5. Three read-only registers ":, "., "%
6. Alternate buffer register "#
7. The expression register "=
8. The selection and drop registers "*, "+ and "~
9. The black hole register "_
10. Last search pattern register "/
_*
Here we see a few cool things. Vim keeps track of the last 10 things we cut (2). We can use any alphabetical character as a special buffer (4, by using ["char]y). We can actually delete something! (9, "_D). So now we need to look at :reg and we’ll see our register.
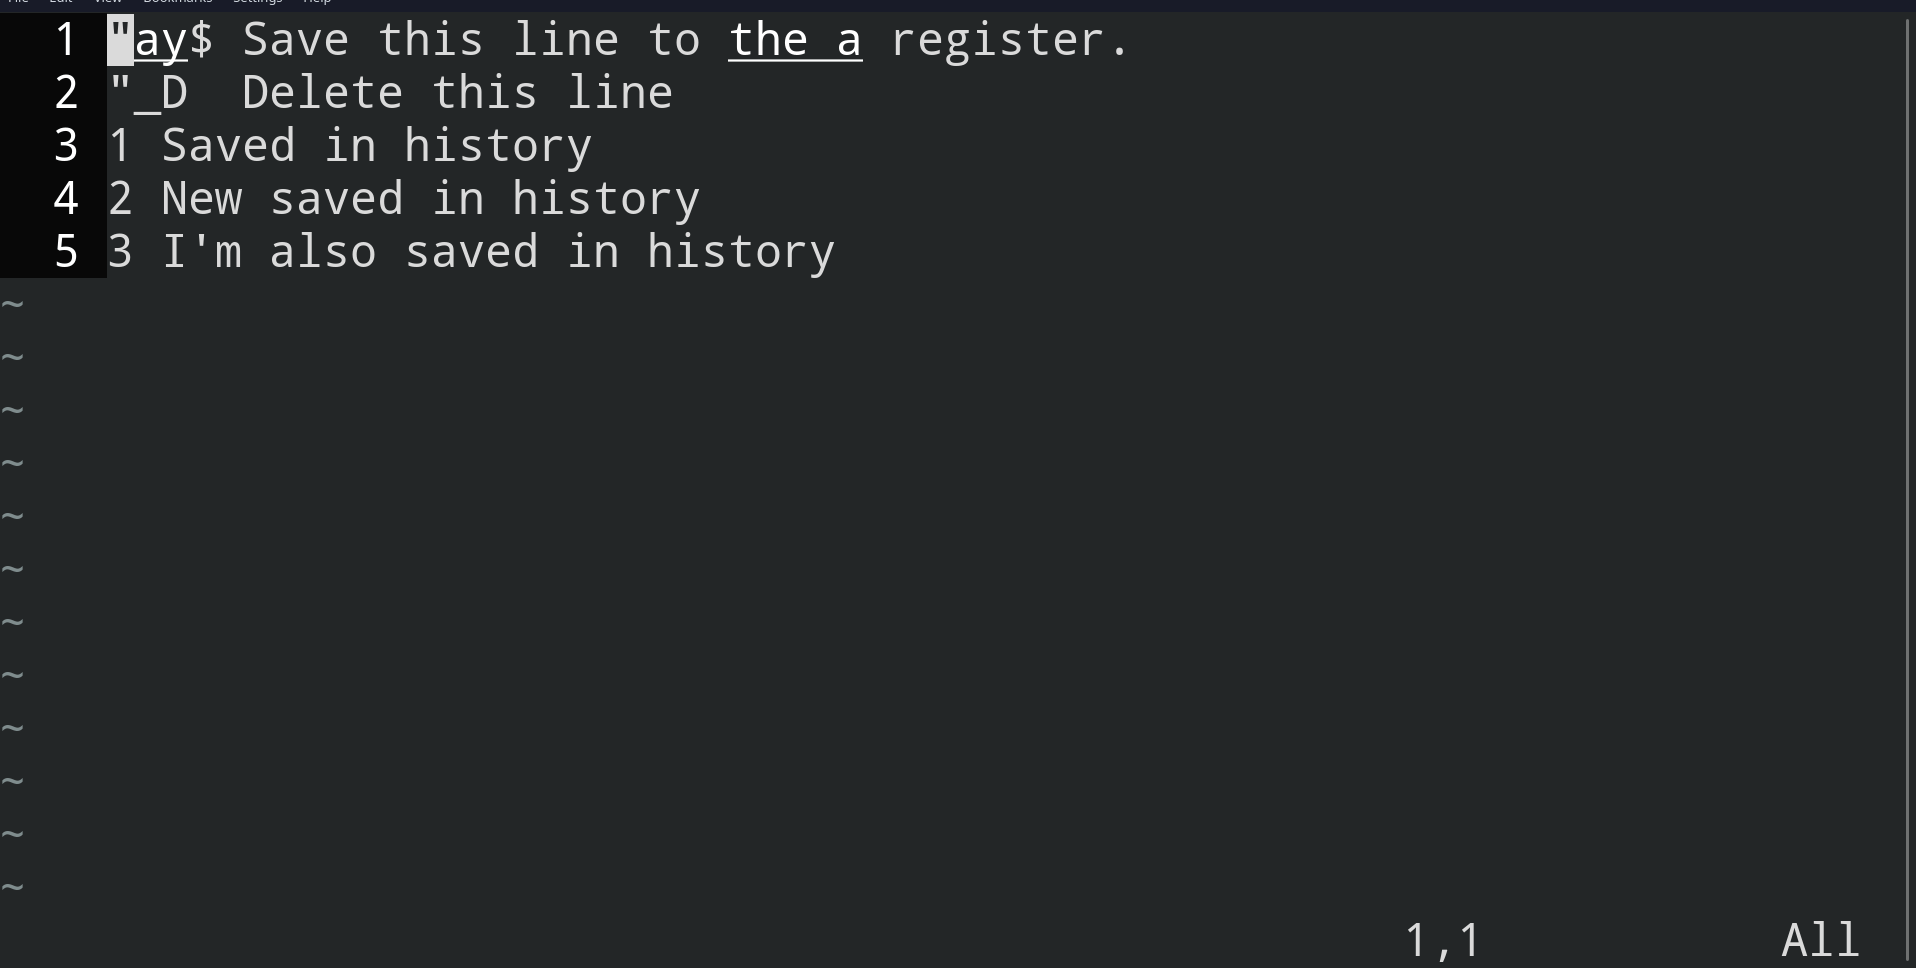
Here we first save the line to the a register. Then we just delete the second line. And then we can just type dd 3 times and we can see these lines show up in the register. Finally, we type "ap to paste from the a register.
There’s a lot more to registers and they are very powerful, so again, read the docs.
Buffers, Panes, and Tabs, Oh My!
Now we get into functionality that advanced vim users use every day. Really we never have to leave vim! So let’s figure out how to do that, navigate around, and be productive.
Buffers
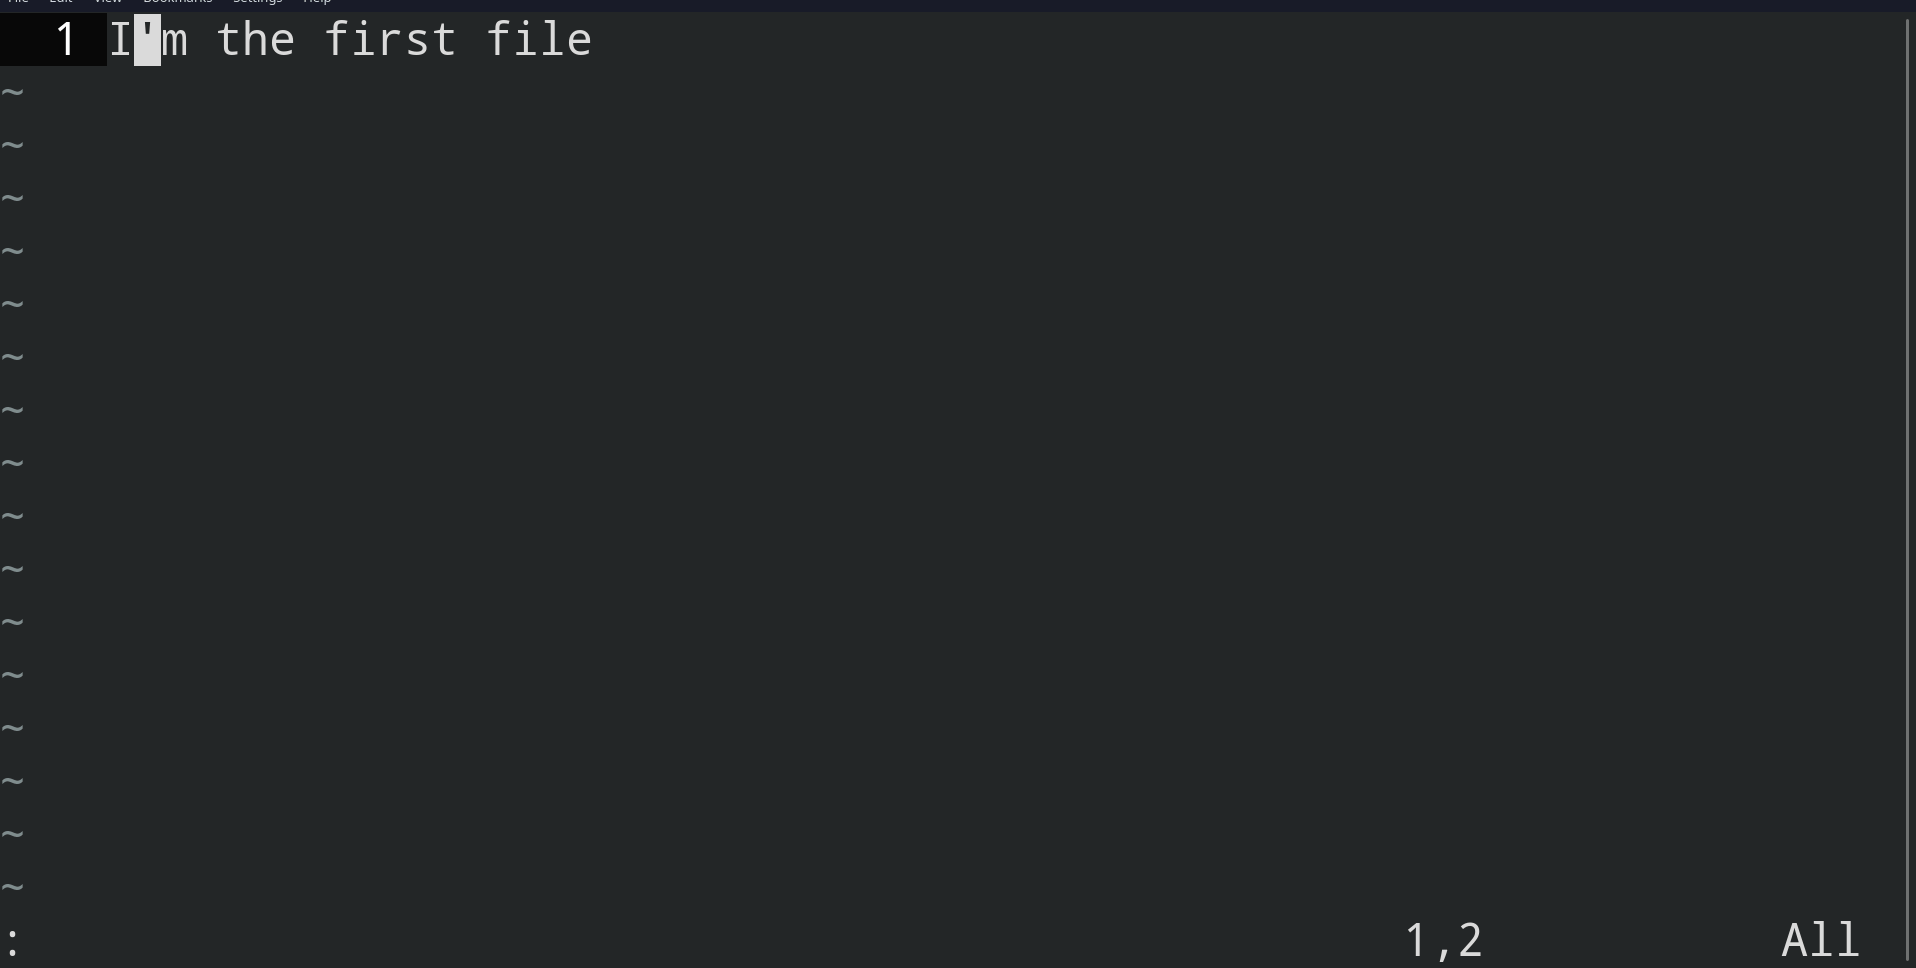
The first thing we’ll look at is buffers. An easy way to do this is open multiple files.
I use a technique here called brace expansion to open our three files. This isn’t unique to vim and is just a good terminal trick to know, I could have also opened with vi file*.txt.
Here we pretty much don’t have to memorize anything new. We can see the buffers by typing ls, which we already know, we can go to the next buffer by typing :bn (buffer next, :bnext works too), the previous buffer (:bp), or the nth buffer by :bn. So here we really have nothing to remember except the word “buffer”.
Lastly, we also may want to open files we don’t currently have open. We don’t have to leave vim. We can do two things (three if you use NerdTree). We can type :Ex (We can also open :Ex /my/path) to explore the file system, or we can type :e my_file. The other fun thing with buffers (and :e) is that we can fuzzy complete. If we have a file open we can type :b myfi and then press tab to complete. It’ll show a list if there is more than one file. Our set path+=** command from earlier lets us look forward when doing this.
There’s two more things to remember about buffers. 1) We need to save our file before we move to the next buffer. 2) If a buffer gets hidden we can yell at vim to see it, :ls!.
Panes
This is seriously one of my favorite features. Remember how we set the text width to 80? This is part of the reason why. We frequently work on multiple files at once and 80 chars takes up approximately half my screen. With panes we can look at multiple files at once.

In this picture we can see the current tutorial on the right, the basic tutorial on the top left, and the rc tutorial at the bottom left. So how do we get here? Well there’s a lot of ways.
:vsp Vertical split current file
:vsp | b2 Vertical split into buffer 2
:sp Horizontal split current file
:sp | b2 Horizontal split into buffer 2
:Vex Vertical split into file system
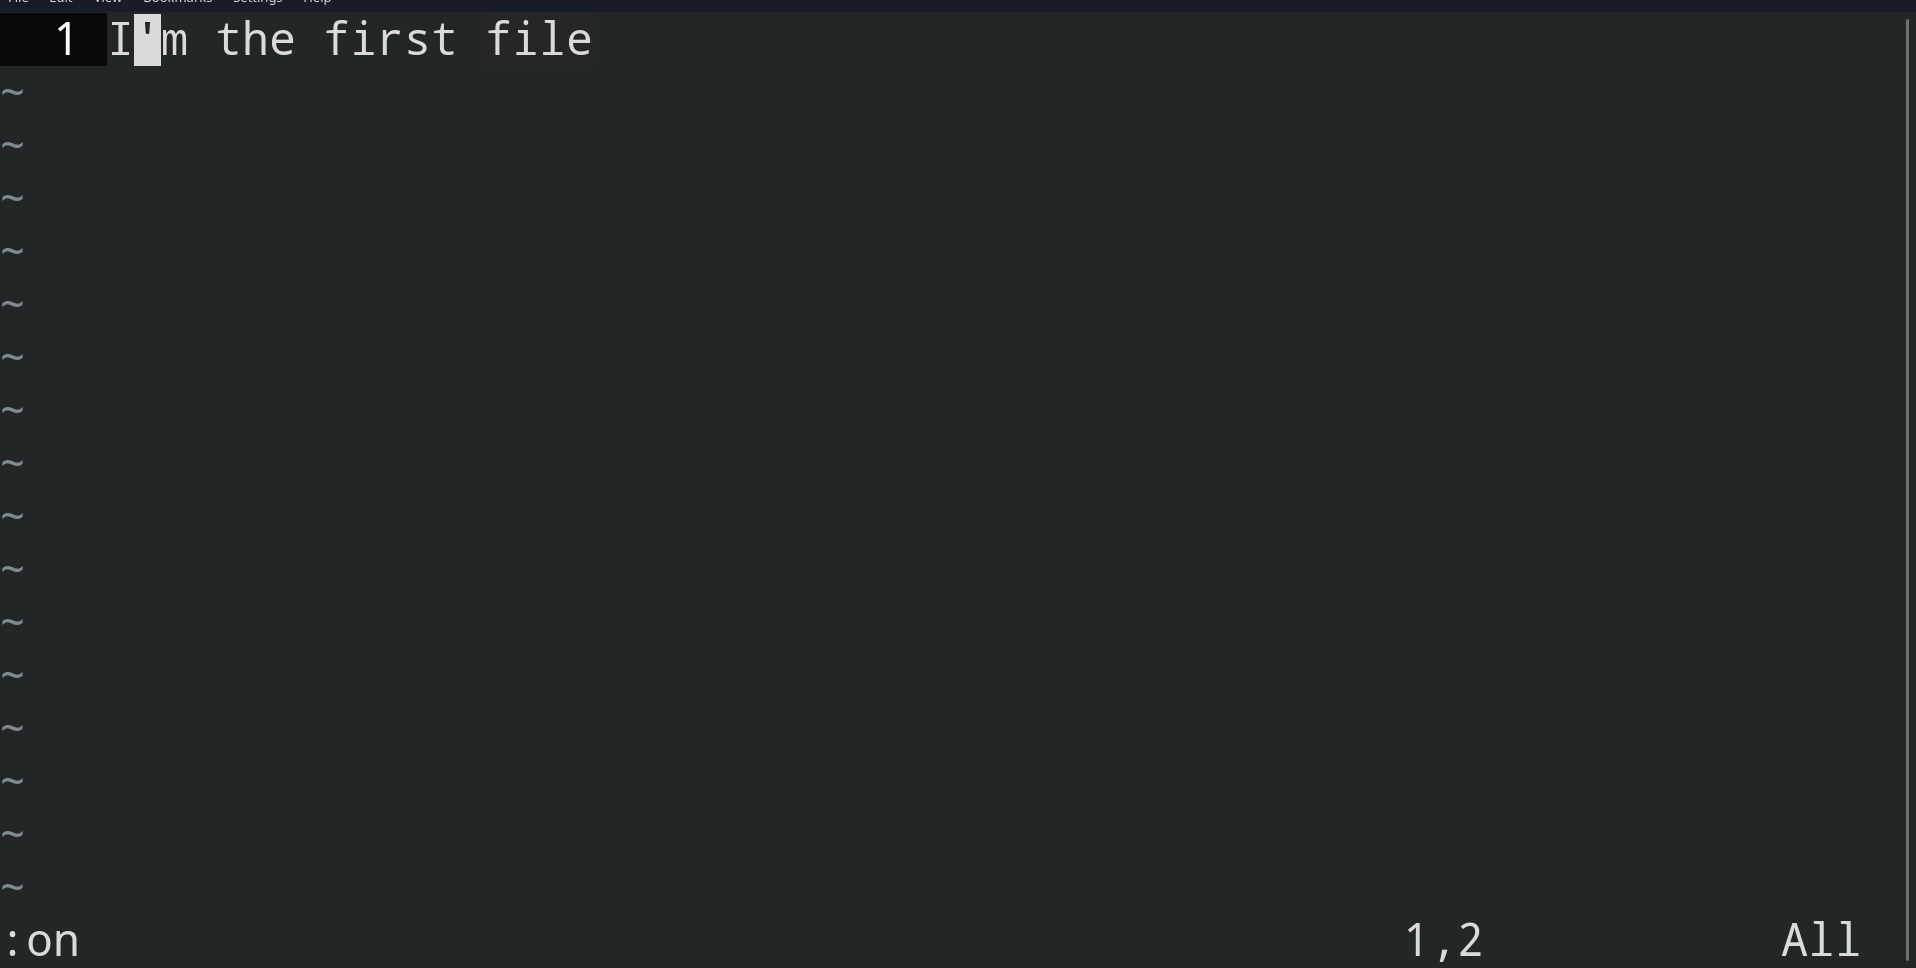
:Sex Horizontal split into file systemWe can slice and dice our window as much as we want now. You can go crazy but I never go over a 2x2 and that’s usually for specific circumstances. Now how do we move? Well we use <C-w> motion (window), where motion is one of h,j,k,l. We can remove panes by typing :q (:qa to remove all panes). But if we type :ls we’ll notice that it is gone from the list (we need to yell at vim to get it back). Alternatively we can type :hide to make it disappear without quitting. Or more commonly we are done with the other panes and just want to focus on one, so we type :on to focus only on one pane. Let’s see this in action.
(Note: the | is like how we pipe commands in terminal, we can do this in vim too)
Tabs
So the next thing we might want to use is tabs. We can see these at the top of our screen. We can create new tabs with :tabnew, we can go to the first tab :tabfirst or the last :tablast. We can go to the next tab by :tabnext/:tabn/gt (go tab) or the previous tab by :tabp/gT (the capital being opposite is a common pattern in vim). We can open new tabs with buffered files, new files, or existing files. One nice thing about tabs is that they keep our pane setup as it was before.
So now that we have Buffers, Panes, and Tabs under our belt we can move on towards more advanced editing techniques. But be sure to read the docs on these, I’ve only given you a preview of what is available. If you’re saying “I wish it did x”, vim probably does.
Advanced Editing
Okay, this is probably the section you all have been waiting for. But you may be saying “Steven! We should have been here a long time ago!” Maybe. But I held this out for last because I think it is more powerful once you understand more about how vim works. How can we talk about auto completion if we can’t talk about how it completes from buffers? How can we talk about formatting if we have talked about how to format? And so on. We’ve had a crash course in how vim works and learned a lot of useful features along the way. I have really only discussed things I use on a (near) daily basis.
Like I said from the beginning, we are trying to build our way up and do things the right way. If we move our hands a lot then we are not using vim well enough. Everything we have learned before is to keep your hands on the keyboard. This is by far the most important thing. We don’t touch the mouse, we don’t touch the arrow keys, really our wrists can sit on the desk or laptop and our fingers do the rest. This is why we use vim. But now that we have gotten in this frame of thinking we want to learn to be fast, and that is why I have saved this for last.

Auto-Completion
Like any good editor we need auto completion. Many of you who already know vim are used to typing <C-p> or <C-n> to get some completion, but I’m lazy and need something more powerful. Instead we’re going to use <C-x><C-p>. “But Steven, that’s more keypresses! That’s not the vim way!” Yes, you’re right. But the vim way is having to remember less and in reality this is only one more key press. We can hold control and just hit xp. They are also keys from different hands so it won’t slow you down. But why this extra step? Well let’s look at :help ins-completion.
Completion can be done for:

1. Whole lines						|i_CTRL-X_CTRL-L|
2. keywords in the current file				|i_CTRL-X_CTRL-N|
3. keywords in 'dictionary'				|i_CTRL-X_CTRL-K|
4. keywords in 'thesaurus', thesaurus-style		|i_CTRL-X_CTRL-T|
5. keywords in the current and included files		|i_CTRL-X_CTRL-I|
6. tags							|i_CTRL-X_CTRL-]|
7. file names						|i_CTRL-X_CTRL-F|
8. definitions or macros				|i_CTRL-X_CTRL-D|
9. Vim command-line					|i_CTRL-X_CTRL-V|
10. User defined completion				|i_CTRL-X_CTRL-U|
11. omni completion					|i_CTRL-X_CTRL-O|
12. Spelling suggestions				|i_CTRL-X_s|
13. keywords in 'complete'				|i_CTRL-N| |i_CTRL-P|
So already we have much more than our easy completion and we have to remember next. We can now just remember “next”, “previous”, “line”, “file”, “tag” (these are the ones I use the most. Beware “spelling”, it can take too long. Only use it if you’re almost there). The other thing, if we read on, is that this is contextual.
So let’s look at how some of this is done. For this we’ll be in insert mode and using our three files again.
So here we kinda just start typing to get some context, hold control then start hammering xp. <C-x> (in insert mode!) gives us contextual completion. We can also complete lines. Not only that, but we can complete lines from other buffers! We can also complete file path names, which is an extremely useful feature. If we had set up tags we could do that too. This is an extremely powerful feature and I highly suggest reading the docs on this one (seriously, more than the other ones).
Insert Mode Special Keys
There’s a lot of CTRL commands that you can do while in insert mode. These will make you a lot faster at typing. Allow you to delete words or sentences at a time, all without going back to normal mode. See :help ins-special-keys.
My favorite is <C-w> which deletes the previous word. No need to go back to normal mode, just delete it backwards. We can delete everything we just did (undo) with our handy friend <C-u>. Because remember, insert is a command. So we are undoing the last command. Want to tab the text? <C-t>. These are pretty much what I use, but read the docs. There’s a lot here. Let me know what you use.
Formatting Text
I write a lot of \(\LaTeX\) so there’s a lot of text formatting and writing. Here’s some of the commands I use.
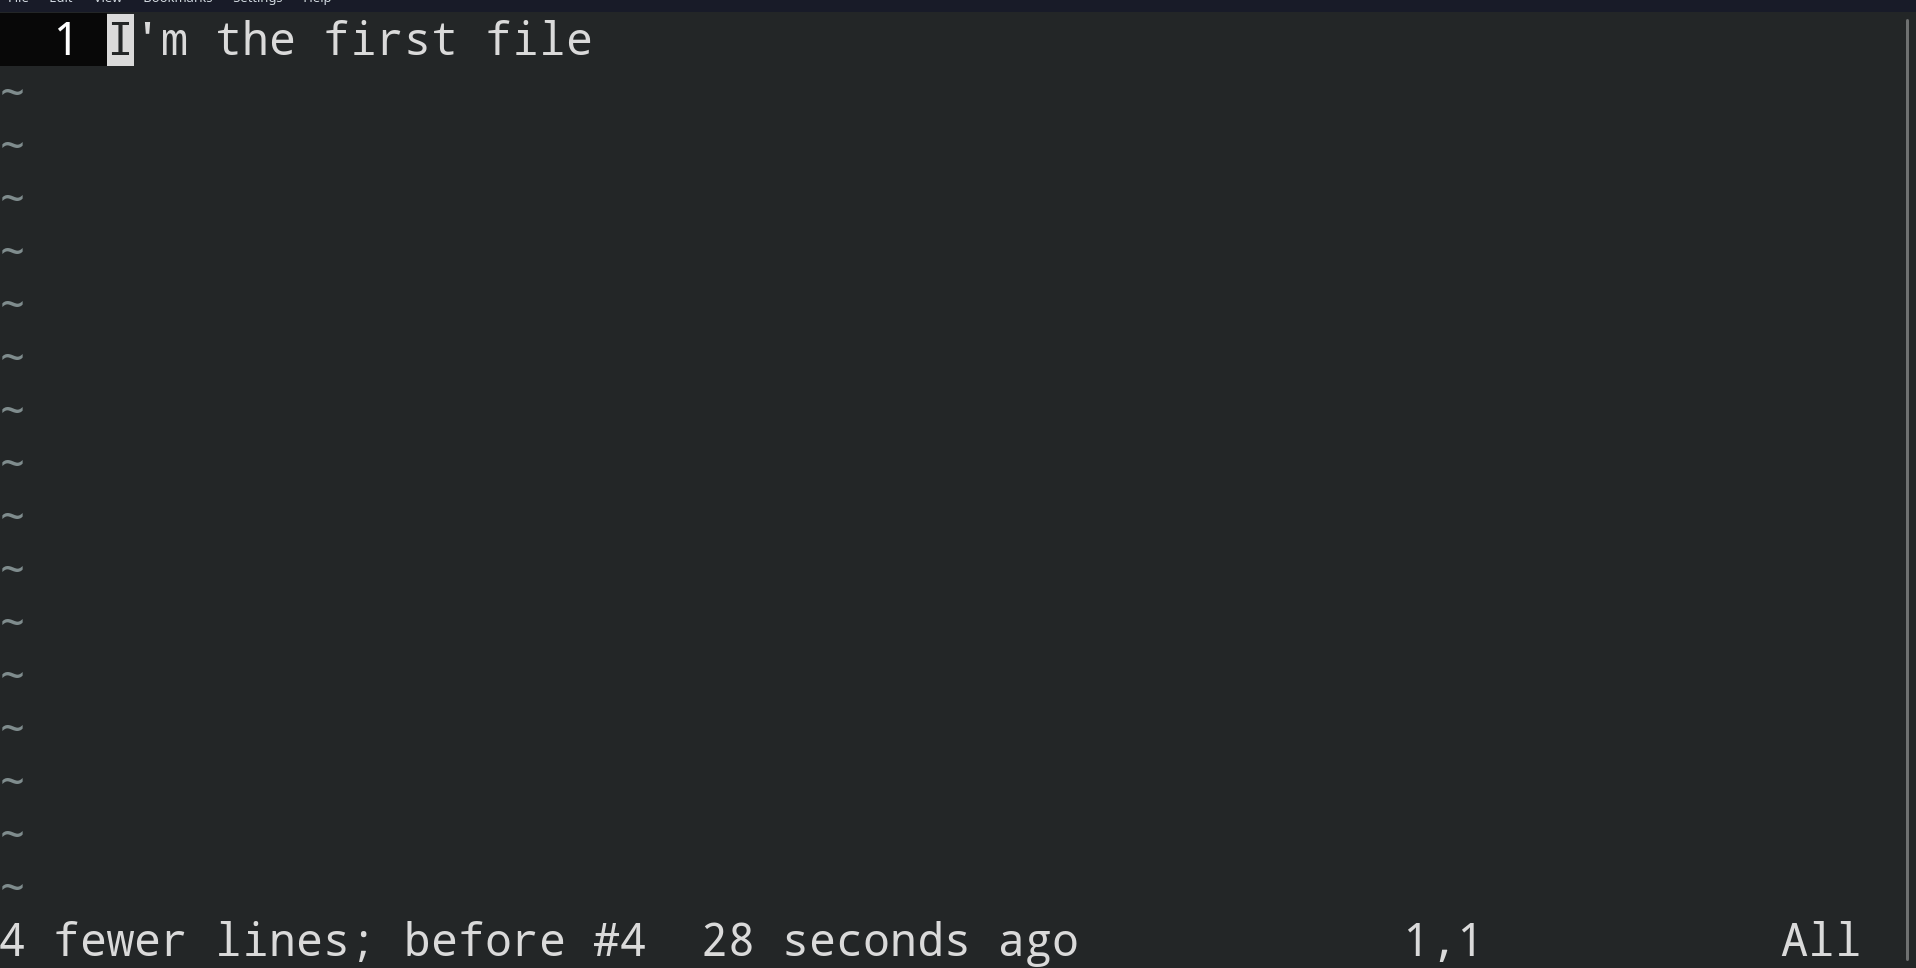
In normal mode gqip (in paragraph, see :help gq) rewraps the current paragraph. We can also to :ce, :le, :ri for center, left, and right (we can use the full words). There’s a lot to see in this documentation, but these are used a lot.
Another common thing I use is <C-j> which joins the line below with the line above. This combined with gp quickly lets you reformat a big area.
Visual Mode
I mentioned that there were other modes, one of the best is the visual mode. From normal mode you can enter three different ways: v, <C-v>, or V. That is “visual mode”, “visual block”, and “visual line”, respectively. So now let’s put a few of these big commands together.
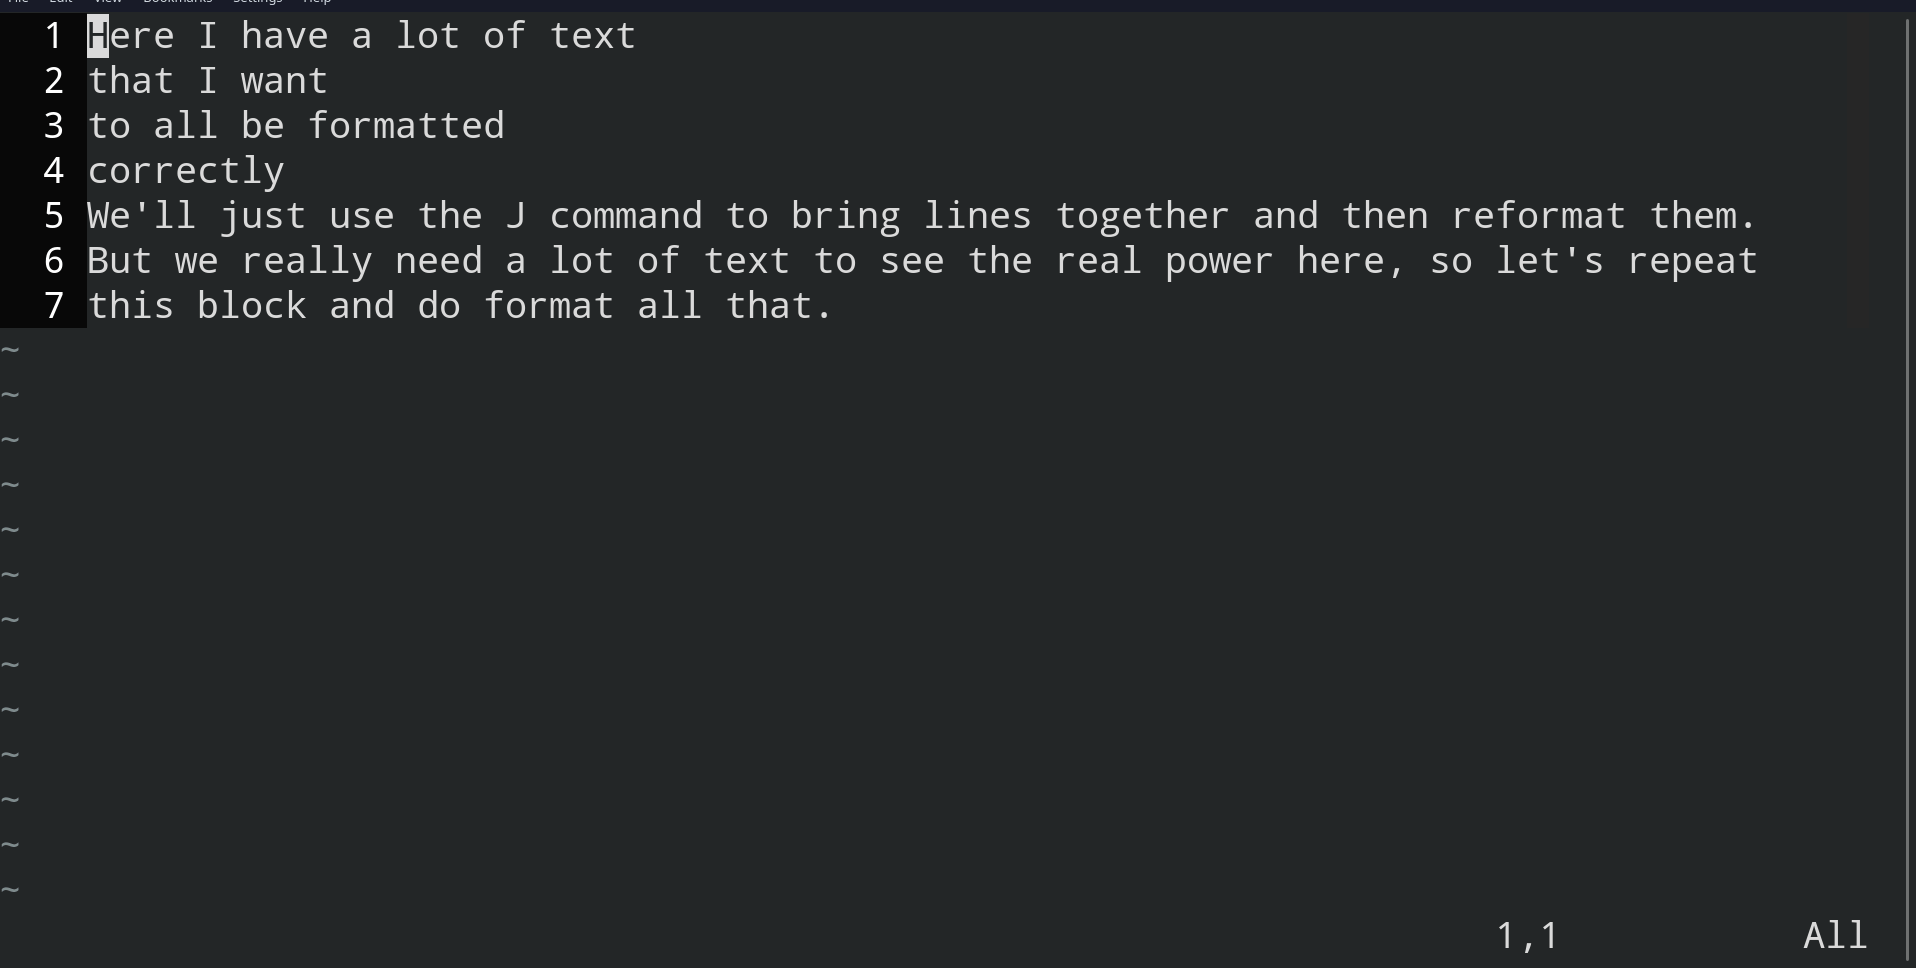
Our small block of text wasn’t enough to see good formatting, so we used the visual mode to select a block and copy paste it to the end of the file a few times (yes, I could have used numbers, but I wanted to be slower). We then select the whole thing and put it onto one like (J) and then run our format paragraph from above. See if you can do the faster way (there is).
Marking
The last thing I want to talk to you about is marking. This is a useful and underappreciated feature, but it doesn’t make sense without our knowledge of registers. We can mark specific points in our documents by using our alphabetical registers [a-z]. We also have a special mark '' ( `` works too). This just marks the last place we were in insert mode (very handy). \` places you back to where your cursor was last while '' places you at the beginning of the line. We can mark new areas with m char where char is one of our letters. We can go back to that with 'char (or tick). Capital marks are valid across multiple files/buffers and lower case marks are only valid in a single file. So that means each file you can have 26 marks and you can have an additional 26 marks that are shared by every file. Essentially, we can set our own tags. Now that’s thinking with marks!
Summary
Okay, this is probably enough for now. If you have gotten to this point most will consider you an advanced vim user. You will be faster than many and much more efficient. But there’s still a lot to learn here. The only way to master vim is to start reading the docs. I know it is easy to avoid these, but you will be amazed at what you find, even in sections you thought you already knew.
I have taught you how I use vim. But as we stated from the beginning, the way you should use vim is how it works best for you.
So where to now? Read the docs. Read rc files. Ask your vim friends. Hopefully you have caught the vim bug and can see how powerful of an editor this is. I’d also like to add this page as a good place to read now.
If you think I missed something or want to share your favorite vim commands with me please share.
(Update) Useful Resources
We should of course include some other resources that can help you learn more and get the most out of vim. Here are some interesting ones I found.
Awesome:
Awesome git repos typically are a collection of various things around a certain subject. If you are doing some kind of survey or trying to get an overview, this might be good to know.
Colorschemes:
- vimcolorschemes
- [rafi](awesome-vim-colorschemes](https://github.com/rafi/awesome-vim-colorschemes)
Plugins:
- vimawesome (only about plugins)
You may also want to profile your plugins. Try using this